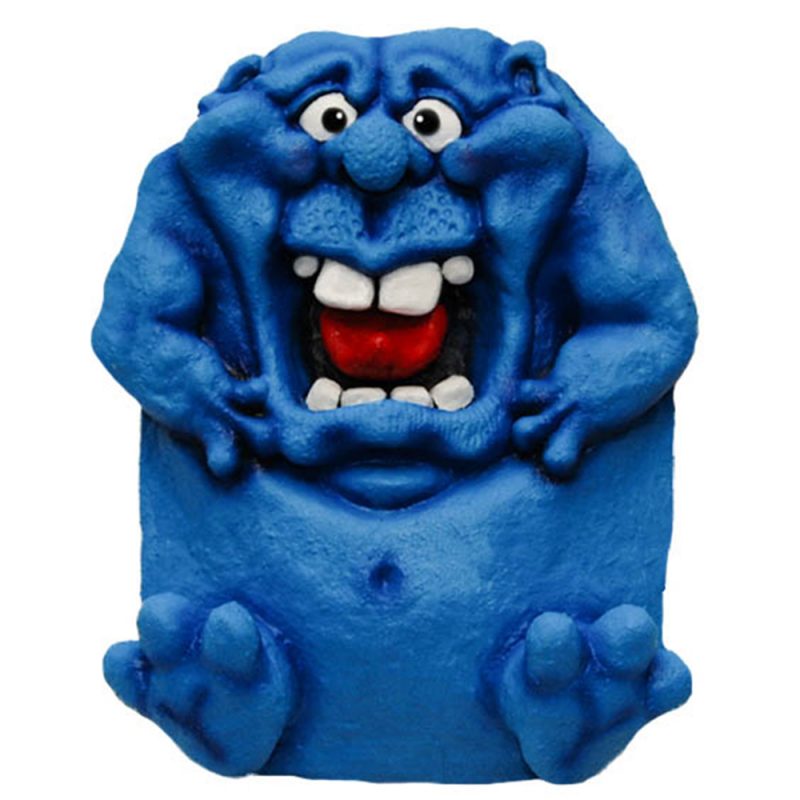
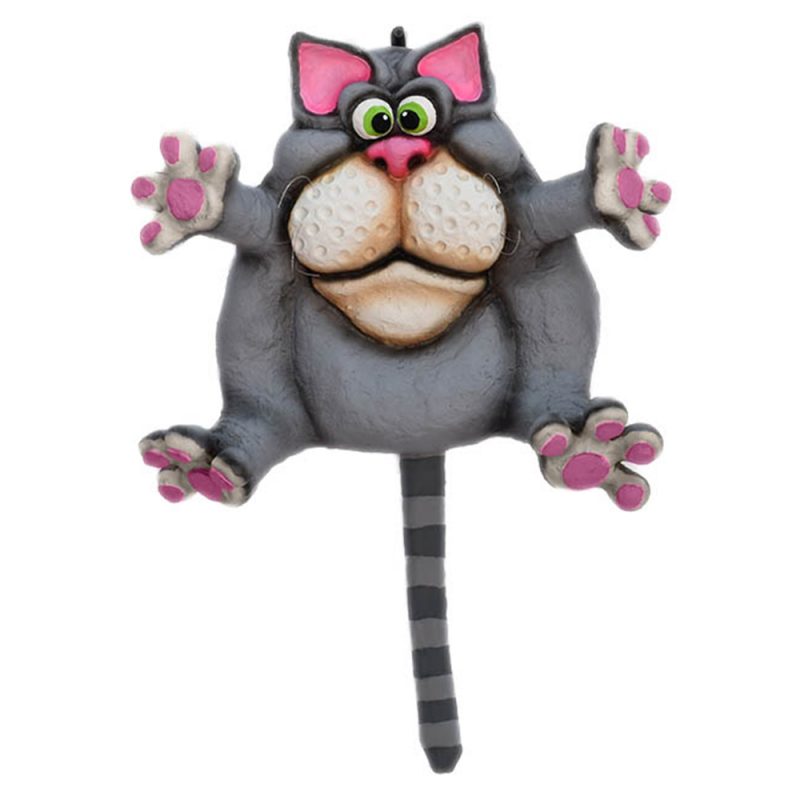
The Creatures here at CoD Studio are all made in a unique patented process
Step 1- Sculpt the original design
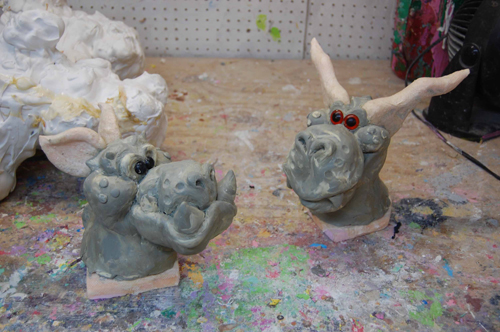
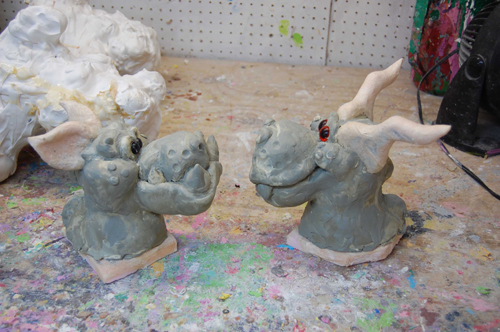
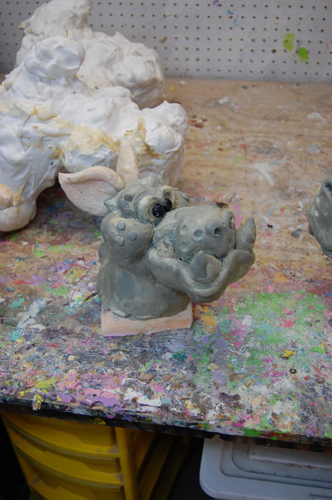
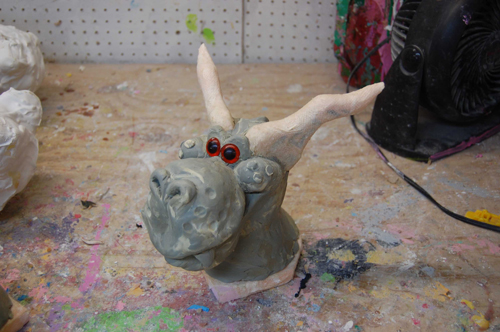
All Creatures start off being sculpted in clay and other mediums like Styrofoam, cardboard, resin, etc. Most designs are sculpted in smaller sections and then attached together later on in the process.
Step 2- Creating the molds
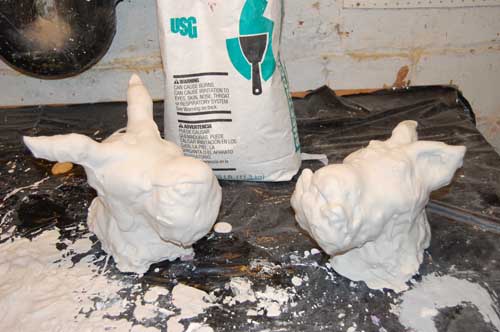

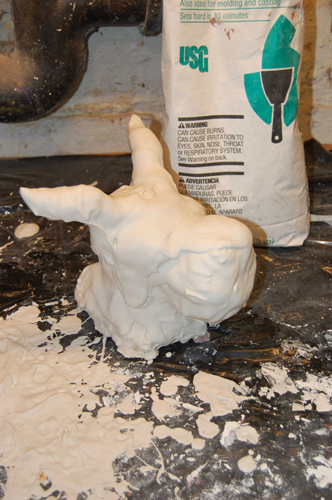
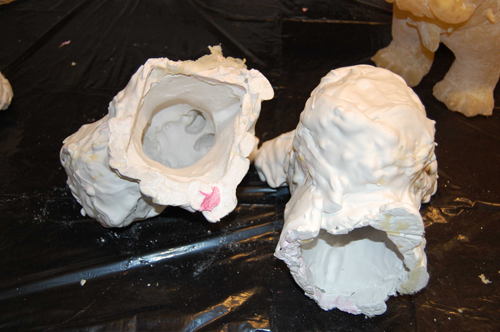
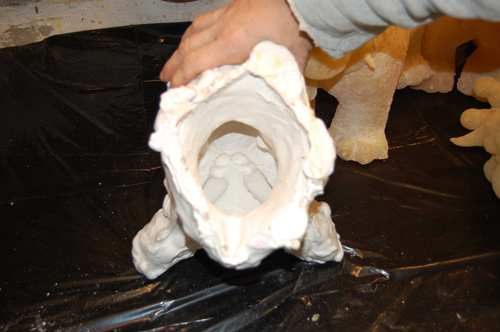
We create our molds using Hydrocal or Ultra Cal 30 (types of gypsum cement). This is the trickiest and most difficult part of the process. Any mistakes here and the entire sculpture is ruined.
The molding mediums are carefully applied in thin layers, making sure to smoothly get into each feature of the sculpture.
After enough layers have been applied, the mold is left to set up. Once set up, the original sculpture is pulled out of the new mold. Getting all of the small pieces of clay out of the molds is a challenging and tedious part of the process.
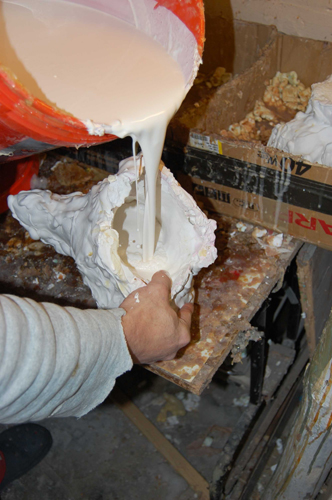
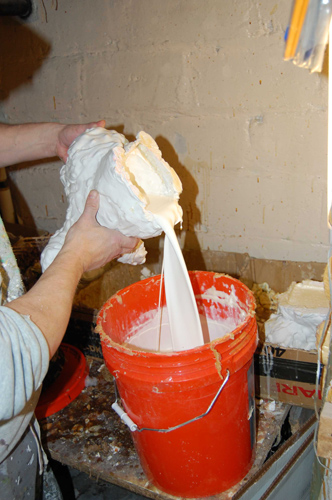
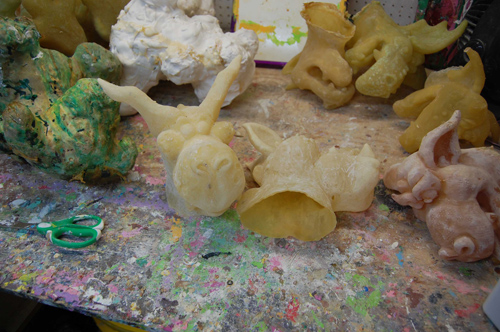
Step 3- Pouring process part 1
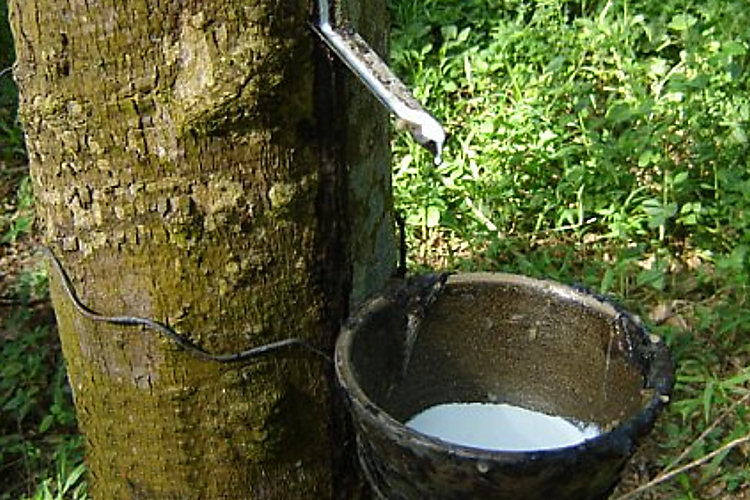
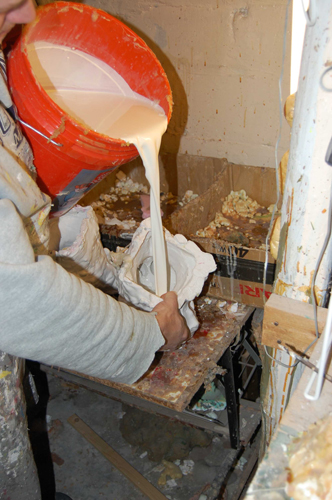
All of our Creatures are made from top quality natural latex from Malaysia. The latex is sustainably harvested from the bark of rubber trees in a process similar to maple syrup.
We pour the liquid latex into our molds, making sure to remove any air pockets that would ruin the sculpture. The mold acts as a sponge pulling the moisture out of the latex, creating a thick layer along the molds surface. The longer the latex sits in the mold, the thicker the “skin” will be.
Weather has a huge part in how long the pouring and drying process lasts. Humid air makes this part of the process last much longer.
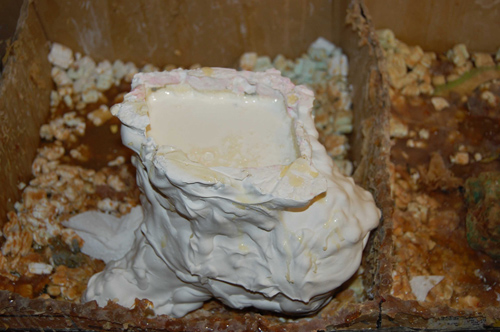
Step-4 Pouring process part 2
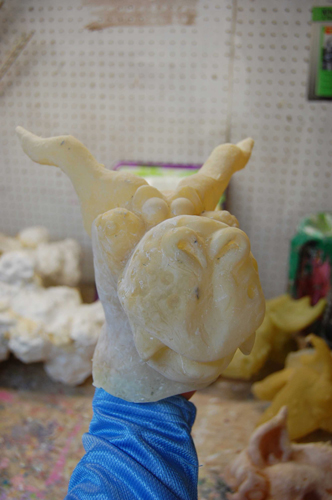
Once the latex has sat in the mold for the appropriate amount of time, the latex is poured out and the inside begins to dry. Fans are used to speed up the drying process, which can take from hours to days. Once the mold is dry, the inside “skin” is pulled out and ready to start the next part of the process.
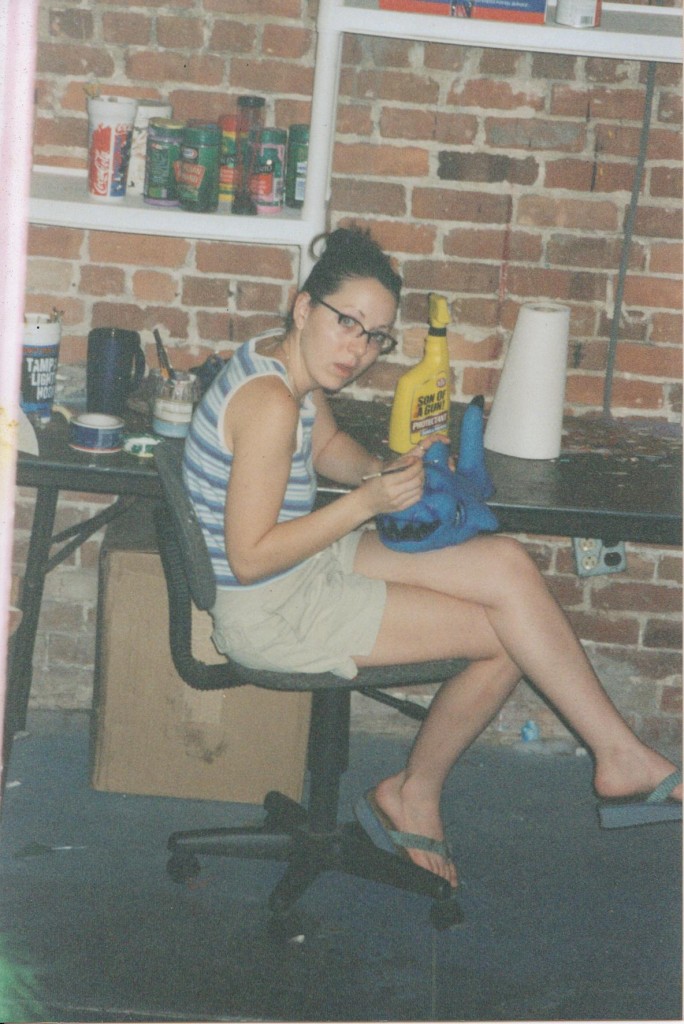
Step-5 Stuffing and assembling
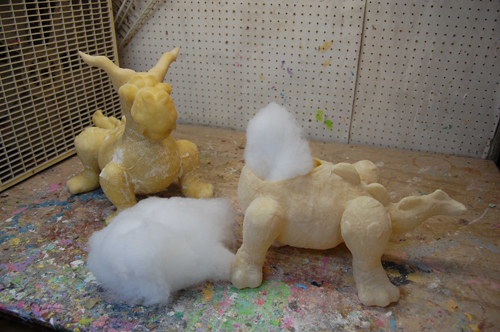
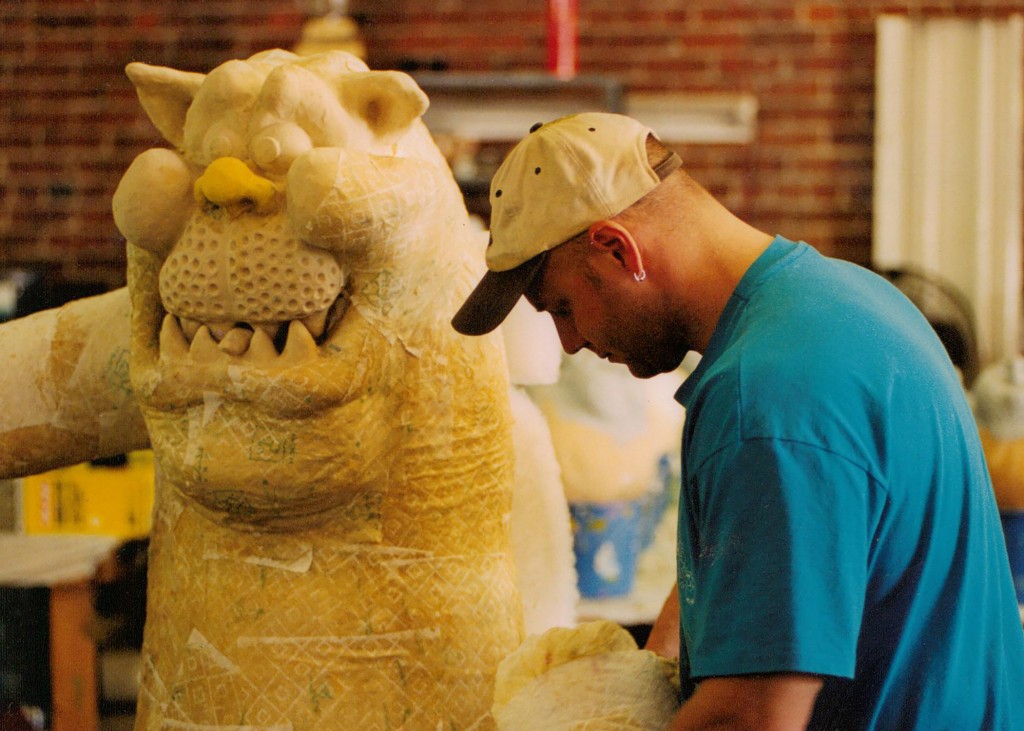
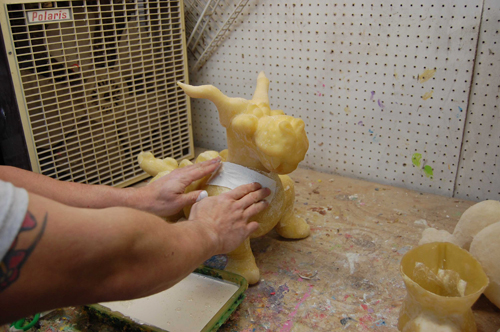
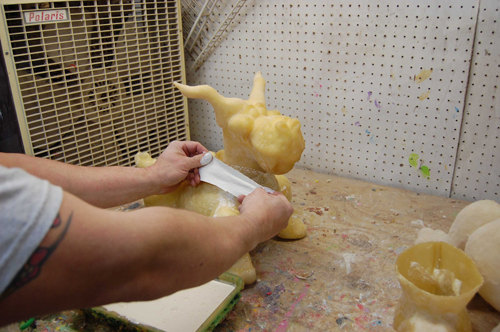
Once the pieces come out of the molds, they are inspected for imperfections, trimmed, then stuffed and assembled together. Sometimes one Creature can originally consist of 4 or 5 different original molds.
The Creatures are stuffed with Dacron polyfill, then using liquid latex and paper towels, the individual pieces are assembled together. Over the years, we have tried MANY, MANY, Many different brands of paper towels- Bounty is the only one to hold up to the Creature’s standards!!!
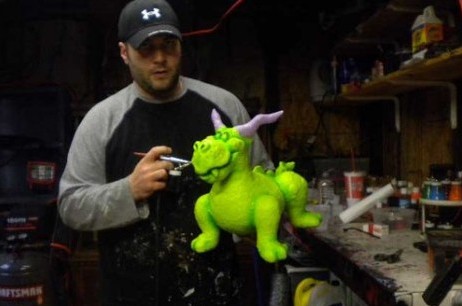
Step- 6 Primer and base coats
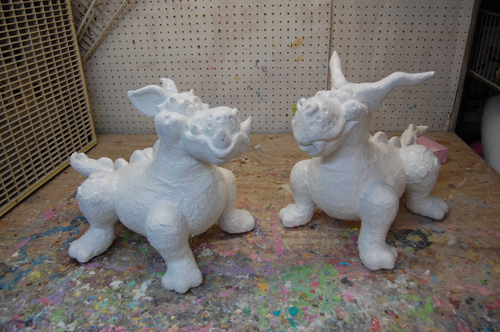
After the Creatures are assembled and dry, they are given primer coats of clear latex that is sponged on. This gives the Creatures a smooth surface.
After the primer coats, they then get their base coats of latex mixed with white paint. This makes the top coats more uniform.
The top coats are then sponge painted on- depending on the color, 3-8 coats are needed. Yellow, orange and red usually need the most coats.
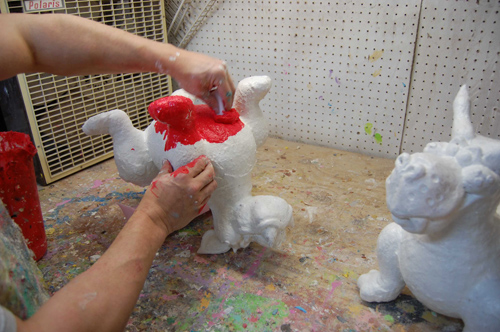
Step- 7 Airbrushing & handpainting
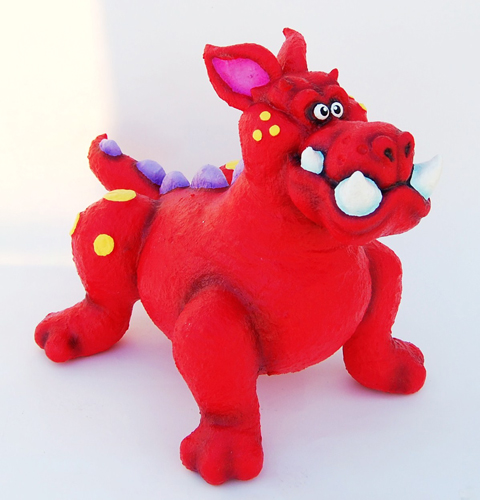
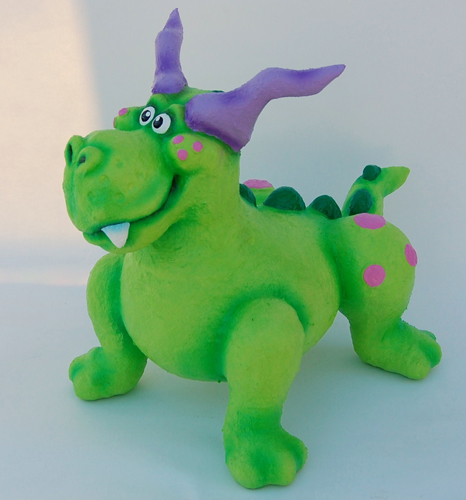
Once the base coats are dry, it is time for the final stages of the creation process. First all of the shading and detail areas are airbrushed with acrylic paint in a complementary or contrasting color. This gives the Creatures depth and accentuates their three dimensional design.
The final step is handpainting. This is where all of the eyes, spots, horns, stripes, etc. are handpainted on. In some cases, airbrushed shading is then added onto teeth and eyes.
Once they are painted and airbrushed, they are hit with heat from a heat gun, then a rubber protectant is applied.
Accessory step
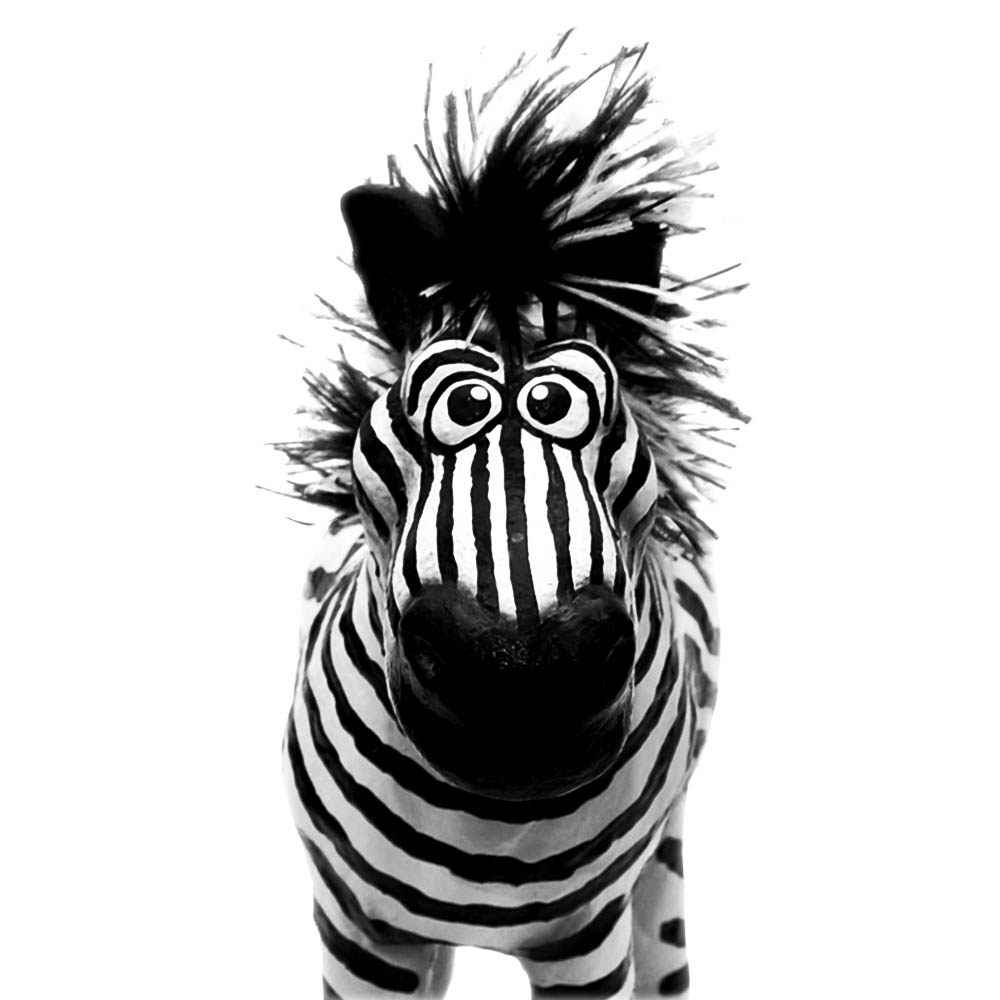
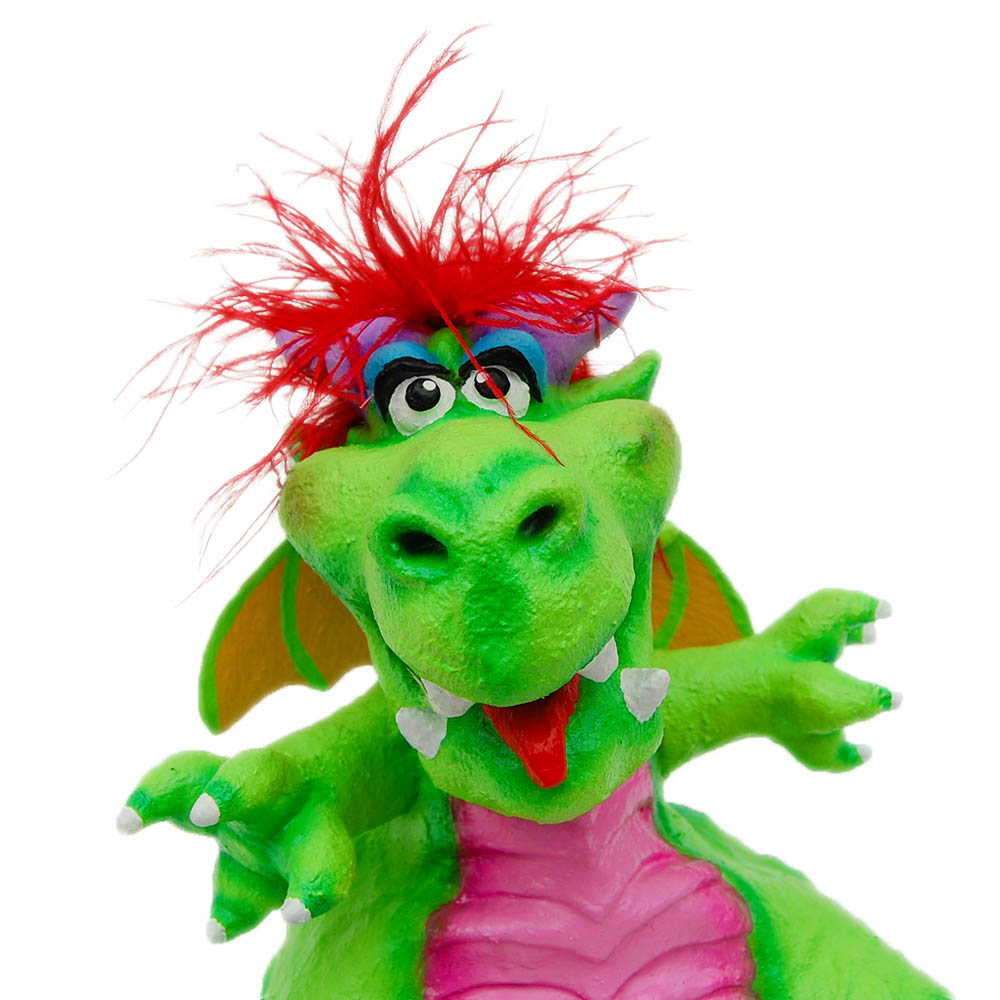
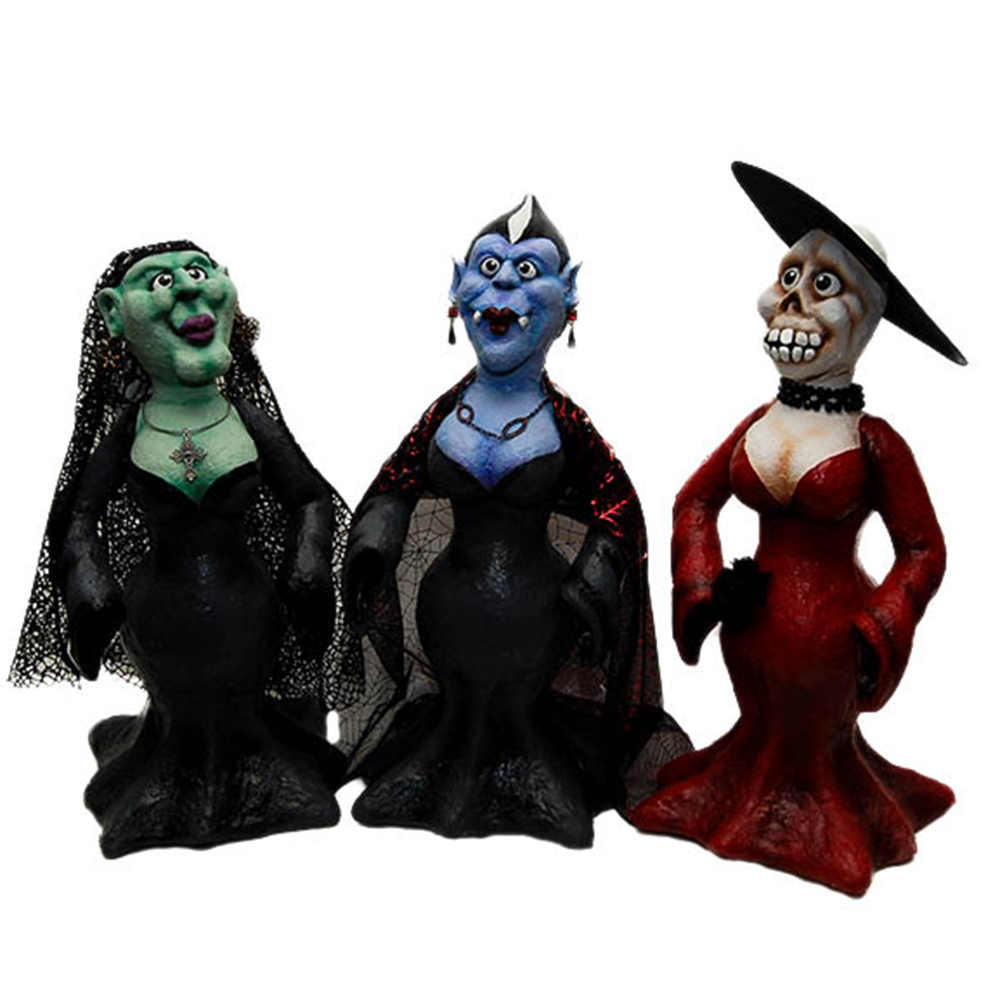
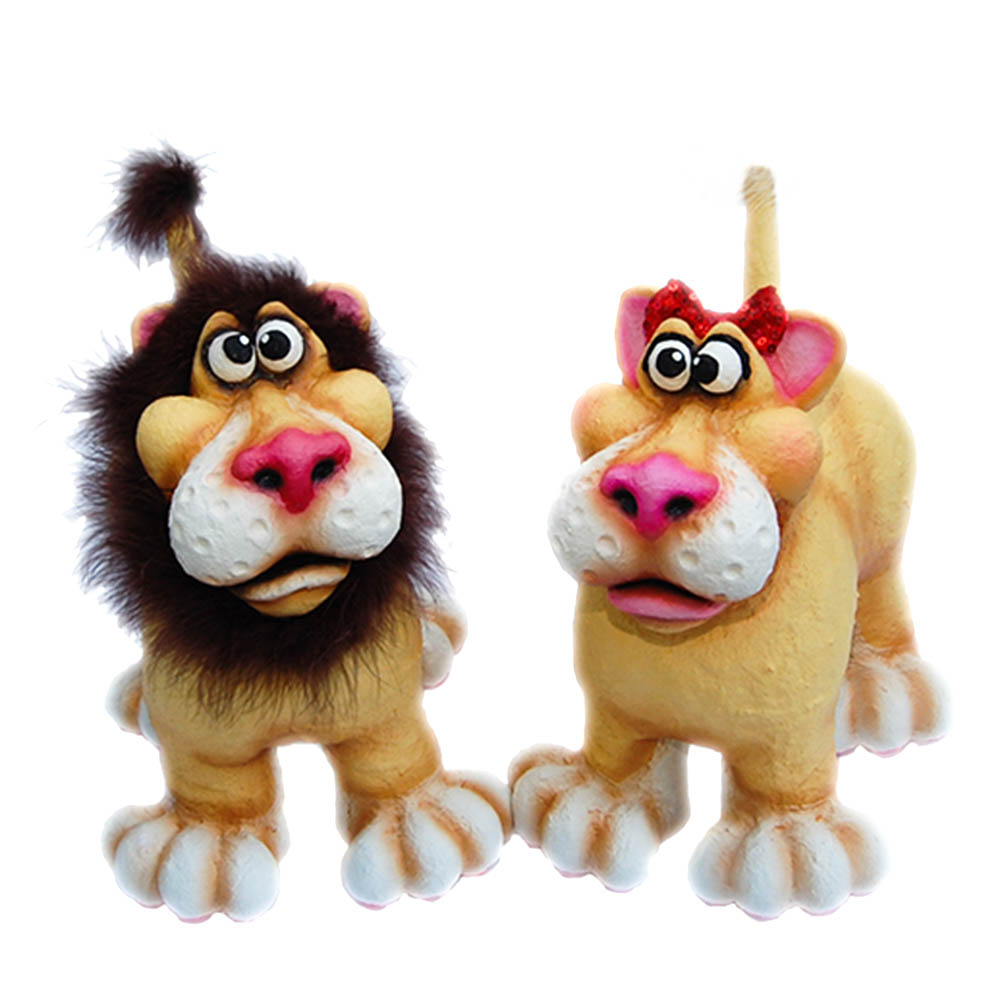
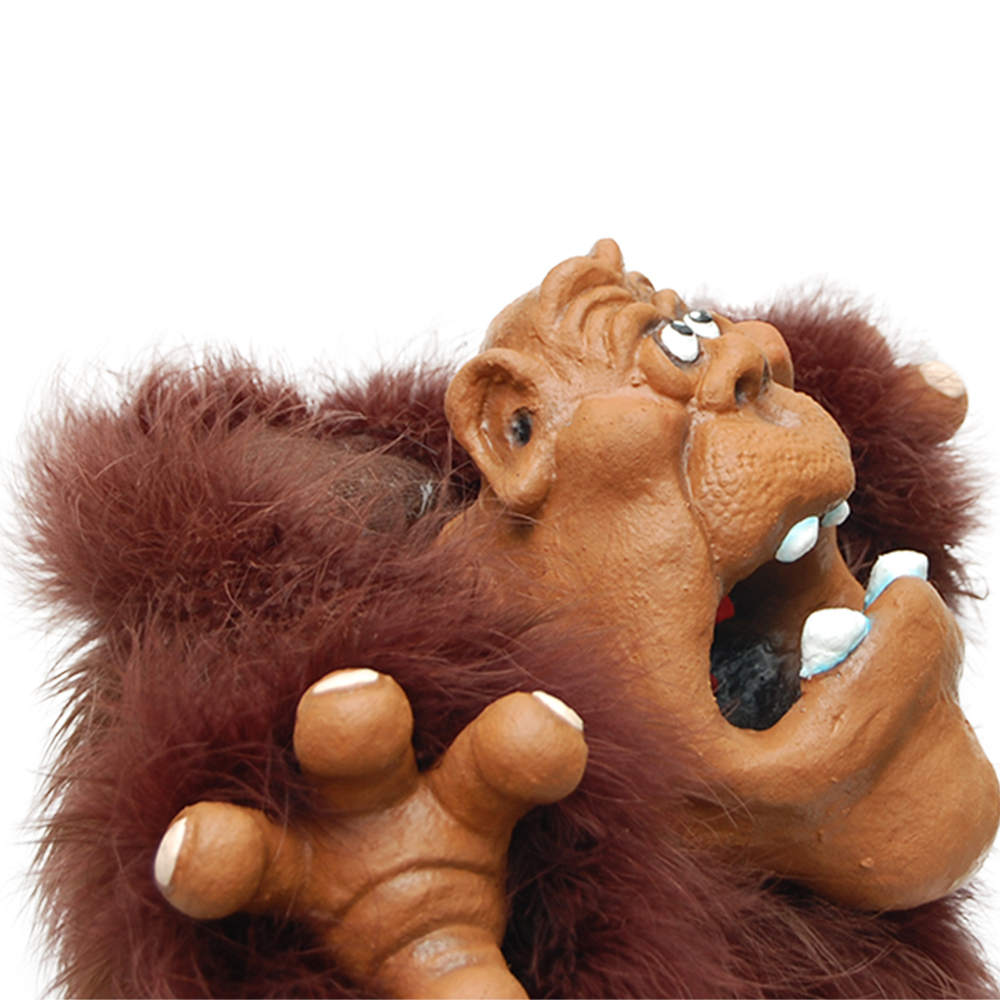
After the entire creation process has been completed, the final step for some Creatures is accessory application. Ostrich feathers, marabou, costumes and hair are just a few things that we sometimes use to finish up our Creatures!
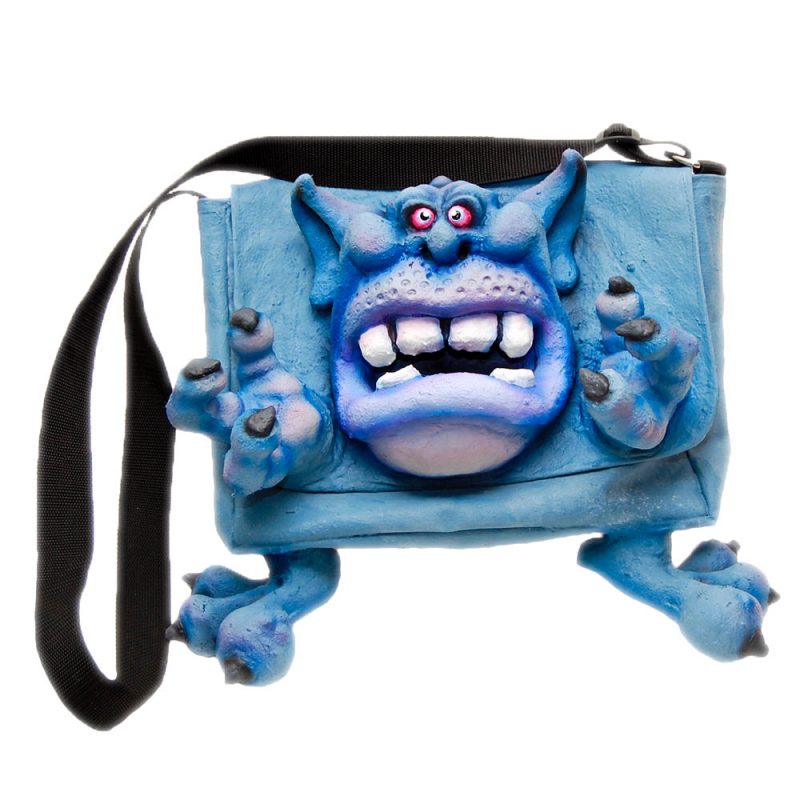
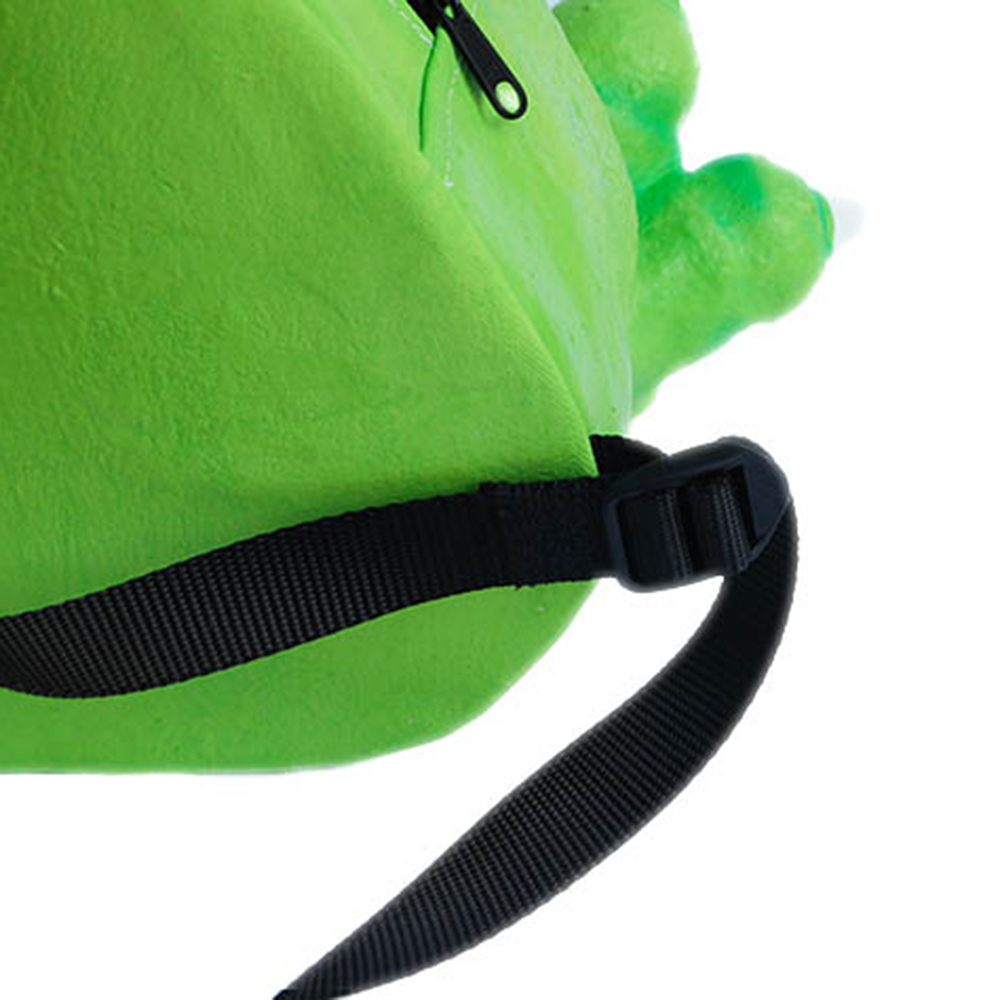
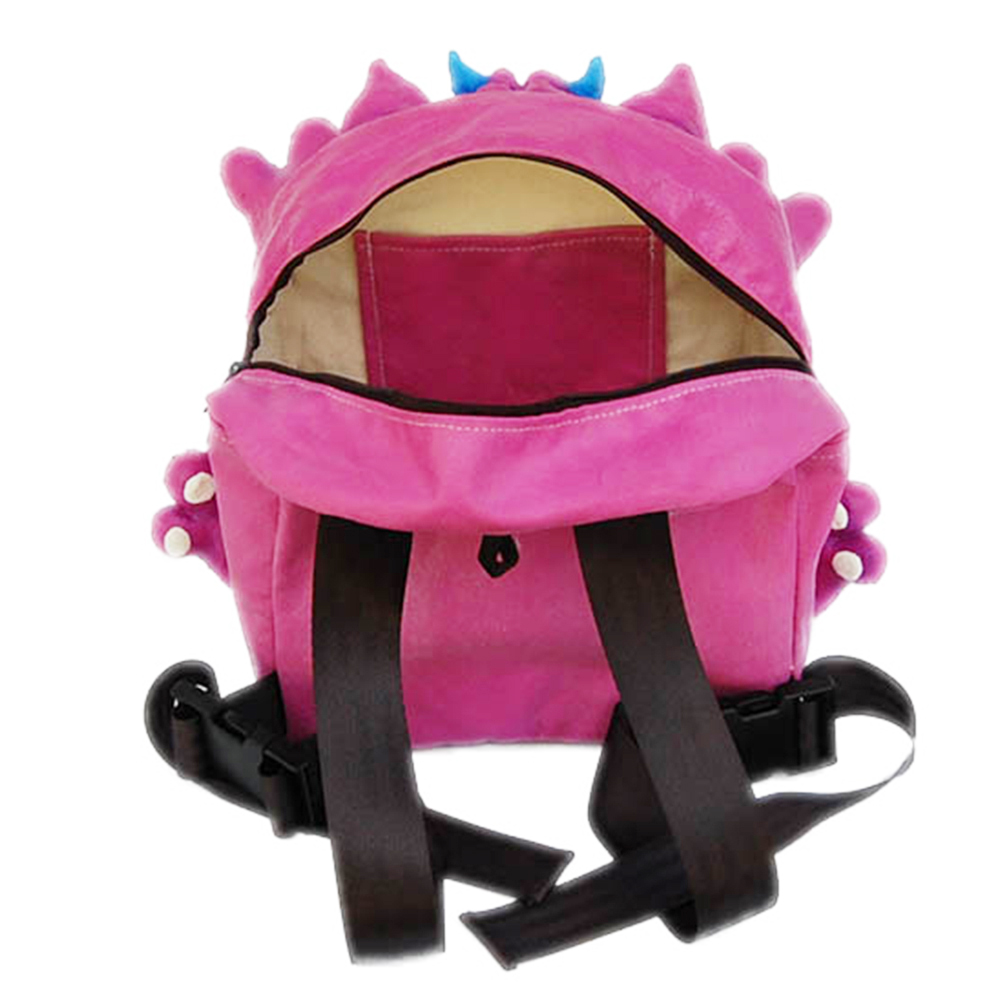
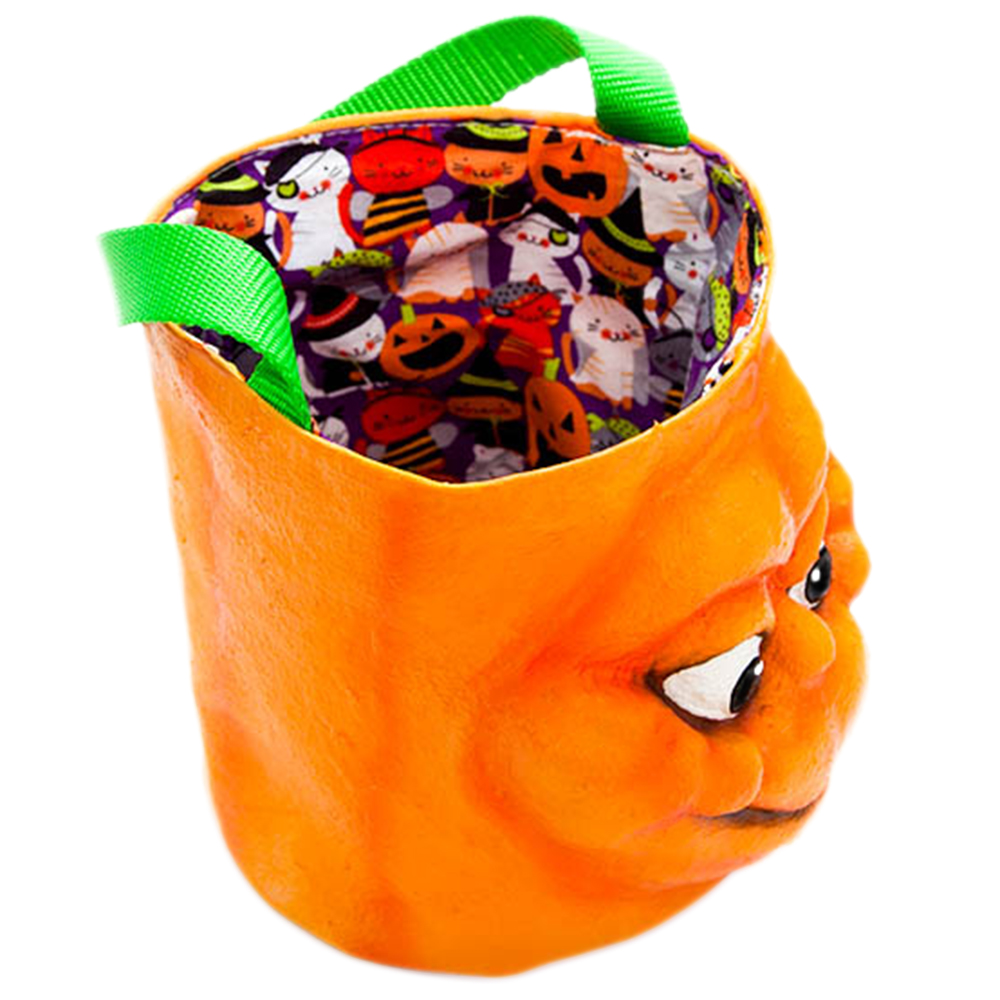
Messengers, totes & backpacks